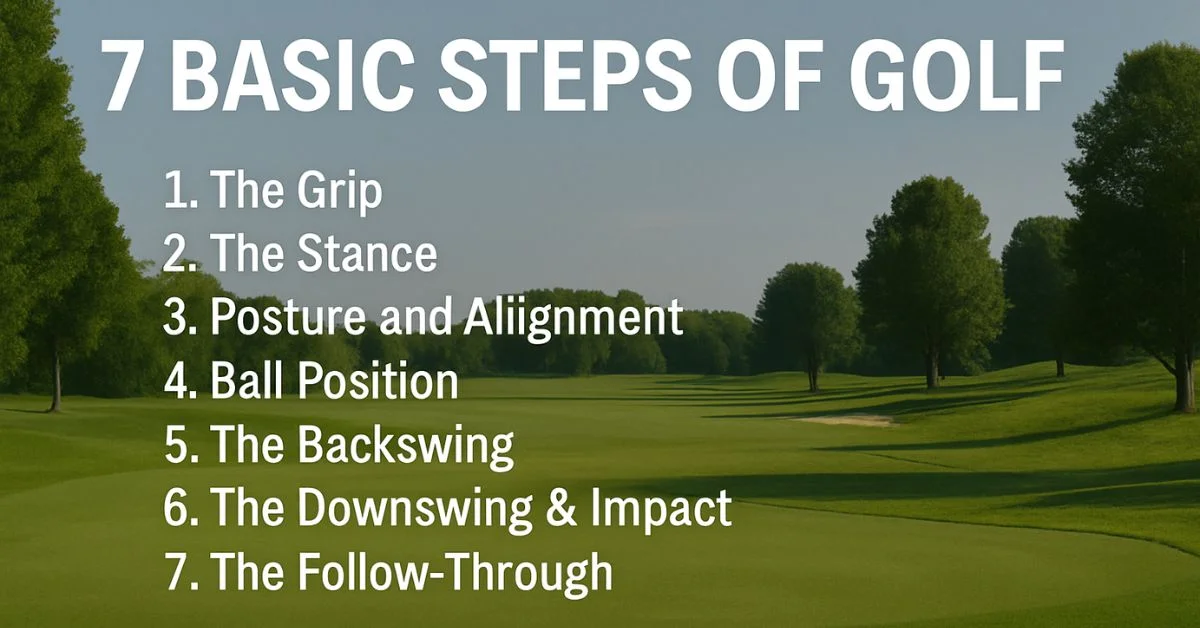

Golf might look simple, just hit the ball into the hole in as few strokes as possible. But anyone who has tried it knows it’s a game of precision, patience, and consistency. Whether you’re a complete beginner or someone who wants to refine their swing, learning the seven basic steps in golf is the key to building a strong foundation.
These seven steps cover everything from how you hold the club to how you finish your swing. Think of them as the building blocks of your golf journey. Master them, and you’ll enjoy better accuracy, distance, and confidence every time you step on the course.
Step 1: The Grip – Your Connection to the Club
The grip is the most important part of golf. It’s your only connection to the club, and it directly impacts how the ball travels. A bad grip can lead to slices, hooks, or weak shots, while a proper grip gives you control and power.
Types of Golf Grips
1. Overlapping Grip (Vardon Grip):
- The most common grip used by professionals.
- Place the little finger of your trailing hand (right hand for right-handed golfers) over the gap between the index and middle finger of your lead hand.
2. Interlocking Grip:
- Used by players like Tiger Woods and Jack Nicklaus.
- Your trailing hand’s little finger interlocks with your lead hand’s index finger.
- Great for players with smaller hands.
3. Baseball Grip (10-Finger Grip):
- All fingers are on the club, like holding a baseball bat.
- Useful for beginners and junior golfers.
Pro Tip: Hold the club like you’re holding a bird firm enough so it won’t fly away, but not so tight that you crush it.
Step 2: The Stance – Finding Balance
Your stance is how you set your body before swinging. A strong stance gives you stability, balance, and the ability to generate power.
How to Set Up Your Stance
- Feet Position: Shoulder-width apart for most shots.
- Knees: Slightly flexed, never stiff.
- Weight Distribution: Balanced evenly between both feet.
Adjustments Based on Clubs
- Driver: Wider stance for more power.
- Irons: Shoulder-width stance for control.
- Short Wedges: Narrow stance for precision.
Common Mistake: Standing too narrow makes you unstable, while too wide restricts movement. Find the sweet spot.
Step 3: Posture and Alignment – Aim Before You Swing
Posture and alignment are about preparing your body and club to hit the ball toward your target. Even with a perfect swing, bad alignment sends the ball off course.
Proper Posture
- Bend from your hips, not your back.
- Keep your spine straight with a slight tilt forward.
- Arms should hang naturally.
Alignment Basics
- Your shoulders, hips, knees, and feet should all be parallel to the target line.
- Imagine railroad tracks: the ball is on one track, and your feet are on the other.
Drill: Place a golf club on the ground, pointing at your target. Practice aligning your feet and body with that line.
Step 4: Ball Position – Where the Magic Happens
Ball position changes based on the club you’re using. Placing the ball in the wrong spot can cause thin shots, fat shots, or slices.
General Guidelines
- Driver: Ball positioned inside the front heel.
- Fairway Woods & Hybrids: Slightly forward of center.
- Mid-Irons: Center of stance.
- Short Irons & Wedges: Slightly back from center.
Pro Tip: Practice with alignment sticks or golf tees to ensure consistent ball placement.
Step 5: The Backswing – Setting the Stage
The backswing stores energy for the shot. A smooth and controlled backswing ensures a powerful downswing.
Key Points of a Good Backswing
- Rotate your shoulders, keeping your lead arm (left arm for right-handers) straight.
- Keep your head steady and eyes on the ball.
- Hinge your wrists naturally as the club goes up.
Common Mistakes
- Swinging too fast → loses control.
- Over-swinging → causes inconsistency.
Drill: Practice a slow-motion backswing in front of a mirror to check your form.
Step 6: The Downswing & Impact – Where Power Meets Precision
The downswing is when all your preparation comes together. It’s where speed, timing, and technique meet to strike the ball.
Steps in a Downswing
- Shift your weight from the back foot to the front foot.
- Keep your hands ahead of the ball at impact.
- Maintain eye contact with the ball.
- Strike through the ball, not just at it.
Pro Tip: Think of swinging “through the ball” instead of “at the ball.” This creates smoother, more powerful shots.
Step 7: The Follow-Through – Finishing Strong
Many beginners stop after hitting the ball, but the follow-through is just as important. A good follow-through ensures balance, control, and better results.
- Good Follow-Through Looks Like
- Chest facing the target.
- Weight mostly on the front foot.
- Back heel lifted.
- Club finishing high above the shoulders.
Common Mistake: Falling off balance after the shot this usually means you swung too hard or didn’t transfer weight properly
Tips for Practicing the 7 Steps
Work on One Step at a Time: Don’t try to fix everything in one session. Focus on one area, like grip, until it feels natural.
- Use Training Aids: Alignment sticks, mirrors, or even recording your swing can highlight areas for improvement.
- Practice at the Range Before the Course: Build confidence before applying these steps in real play.
- Take Short Breaks: Don’t over-practice. Quality is more important than quantity.
- Get Feedback: Ask a coach or even a friend to watch your form.
Final Thoughts
Golf is often called a game of patience and discipline, and it’s true. But with the seven basic steps, you don’t need to feel overwhelmed. By focusing on grip, stance, posture, ball position, backswing, downswing, and follow-through, you’re building a foundation that every great golfer has mastered.